Page Updated 21/03/10
|
Instructions on how we made our "welsh dresser cage" Firstly we kept an eye on Ebay for a suitable Welsh dresser, and when this one came up at £25, we grabbed it. 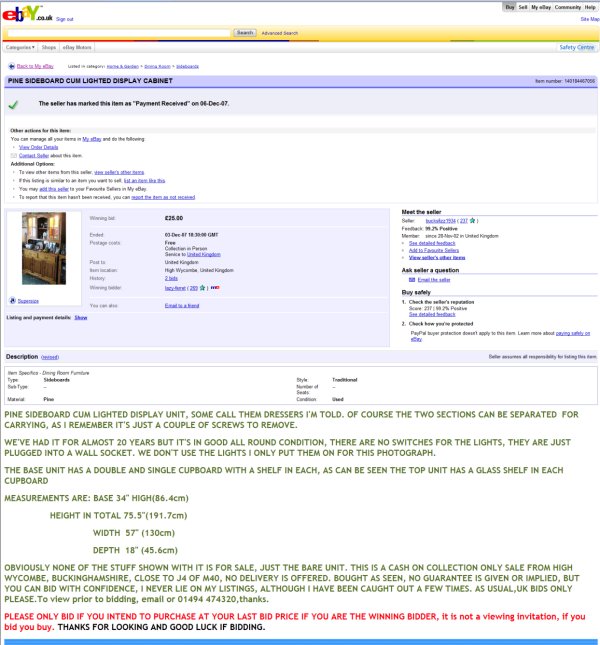 We then drive a fair distance from Sevenoaks to High Wycombe, taking both the car and trailer to pick it up. 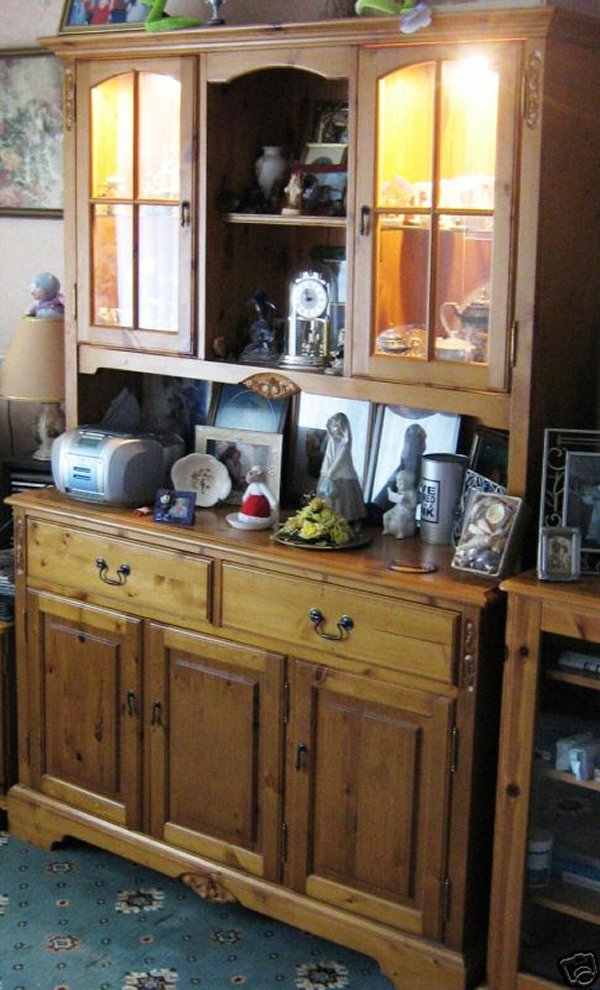 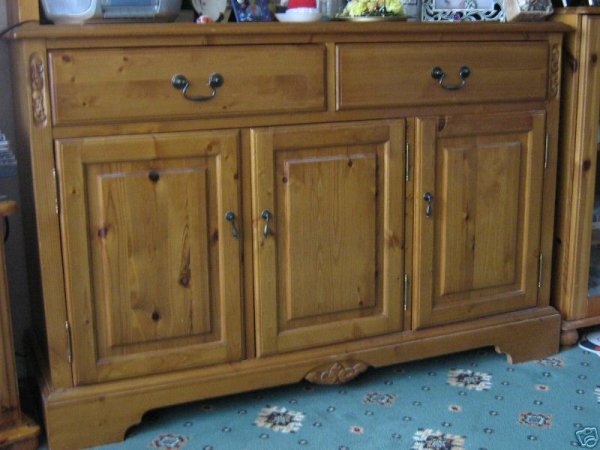 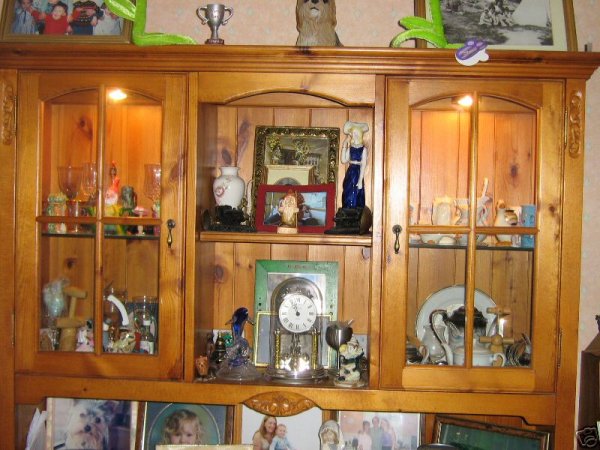 We collect it up from an upstairs flat of a lovely retired couple, and do not have the heart to tell them what we plan to do with it. Once we get it home, we set too work planning how we should set it up. Firstly, we had to put a roof in the cage, as it took buttons minutes upon inspecting it, to discover she could get from the shelf, up the back of the draws, and into them. To do this we put some battens in, and use 1/4 inch ply wood to make a roof to the cupboard. Once the Cupboard is completely enclosed, we add a couple of coats of varnish to the inside, then use a waterproof silicon sealer round all the corners, making sure no moisture can get into the joints. Round the bottom edges, we also used a right angles plastic trim, which was also fixed in place by Waterproof silicon sealant. 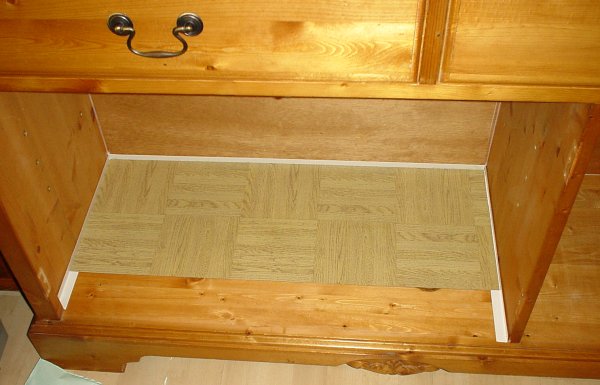 We get some self adhesive tiles, which will be stuck to all the surfaces, only to discover that they fall off, all but the flat bottom surface... So we have to invent a Plan "B" Plan "B" is to cut all the tiles to size and shape, then spray them and the cage with "Bostik Impact adhesive" and then try to remember which tile went where. Plan "B" is eventually a sticky success, but with the fumes from the Silicon sealer, and now the Glue, we wouldn't have cared if it had failed We wait a couple of days for the solvent fumes to dissipate, and also for our heads to clear the hangover feeling we got from the fumes. Just to be sure it is totally sealed around all the edges against water, we run another bead of Waterproof Silicon Sealant around all the joins, and leave it to Cure for a few days. 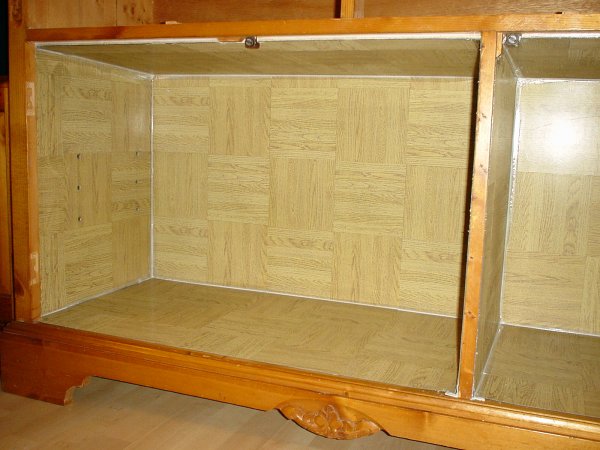 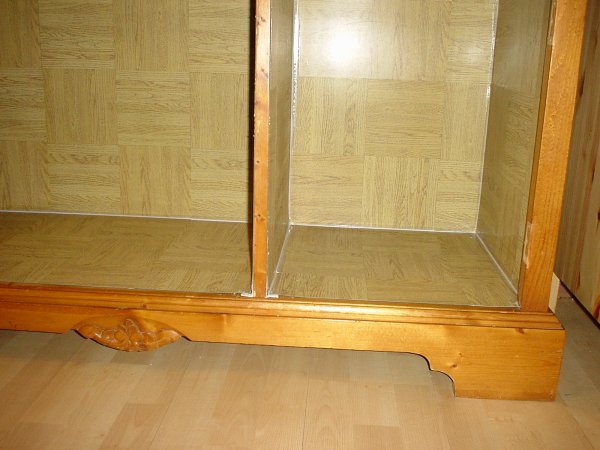 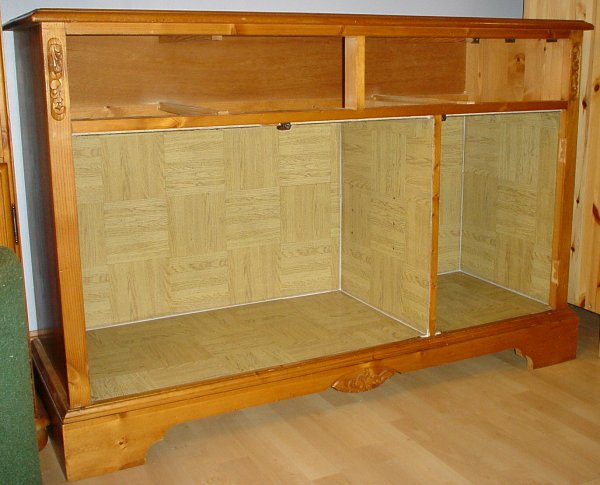 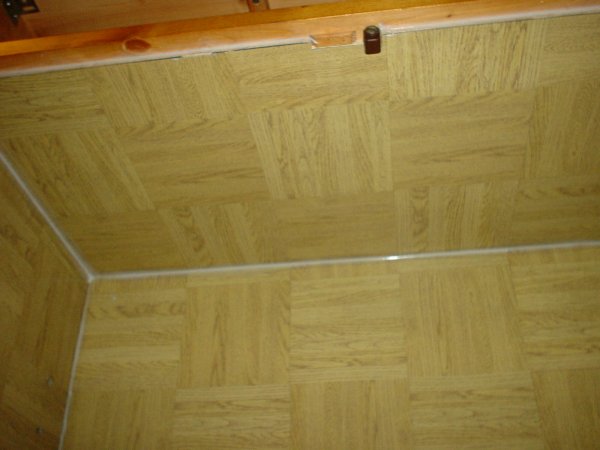 Even after a few days, we noticed that when the doors were closed the solvent smell built back up. We decided that with the current group of Fuzzy guys, the sleeping area might get a bit whiffy, since we were going to leave this door solid. We decided to add some vents, to make sure there is some air flow. The top vent, goes into a cavity below the draws, and then on the back of the unit, there are 2 computer fans, extracting the air from there. The bottom vent will pull the cooler air in and the warmer smellier air will be drawn out by the fans. 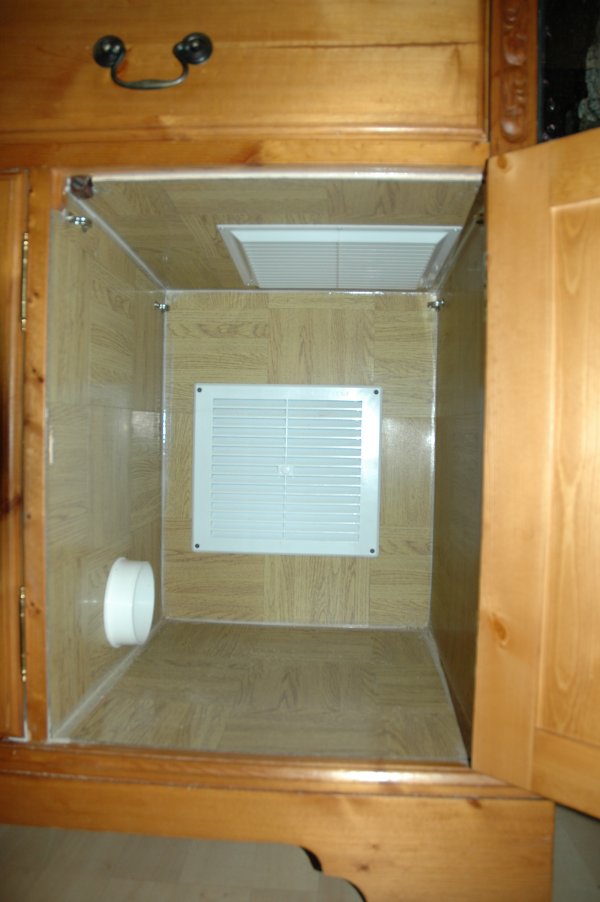 We also add a a lined hole through from the bed area to the rest of the cage. 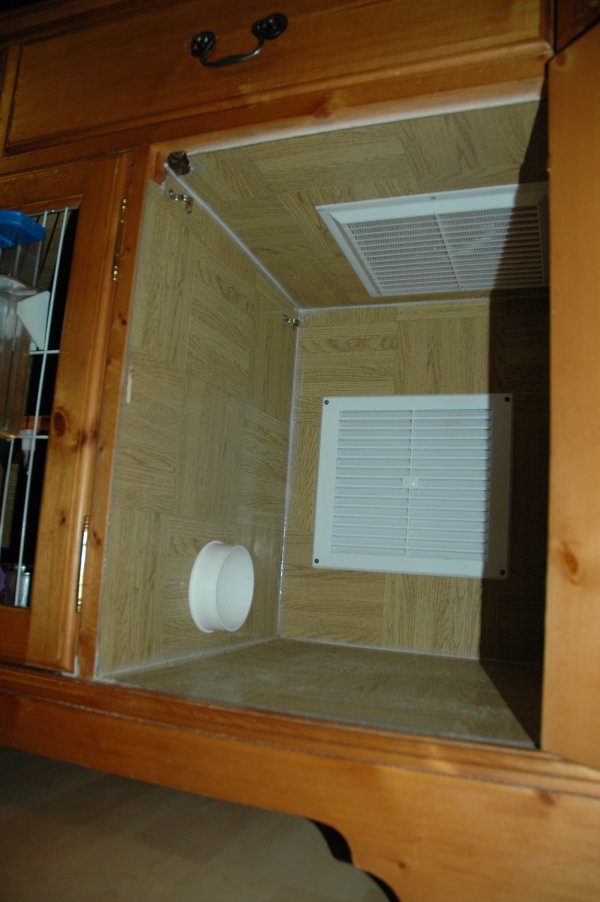 In the main area, we add the feeder. These Ferplast "J" feeders are great, but the fixing bracket, is an awful design, which snaps very easily. I have found several other ways of fixing these to the bars, but for this cage, I wanted it on the back. 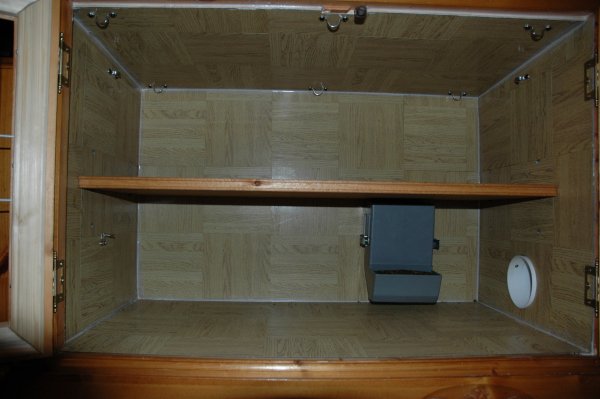 I fixed these flip over snap catches to the sides, and the corresponding clips onto the back of the cage. They Keep it firmly in place, but nice and easy to remove for cleaning and re-filling.  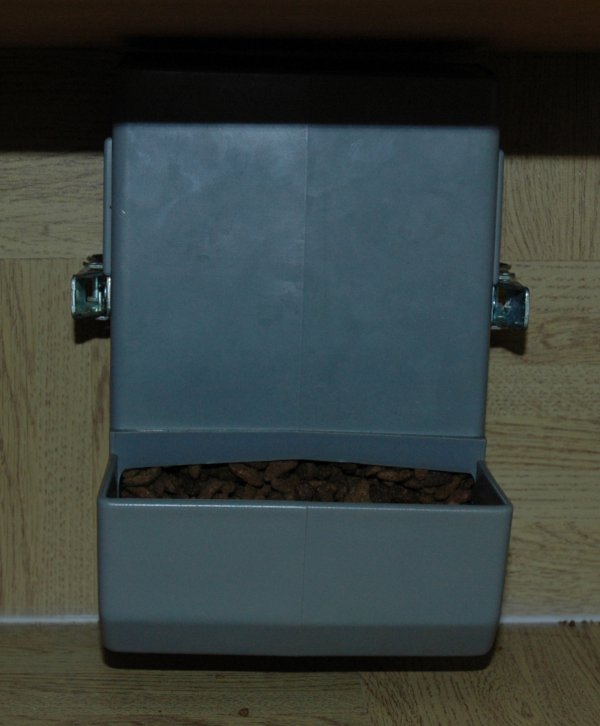 Next the "High Back" litter tray needs fixing in place, as Ferrets are worse than women when it comes to re-arranging the furniture. To do this, I fix a "D" ring to the side of the cage. 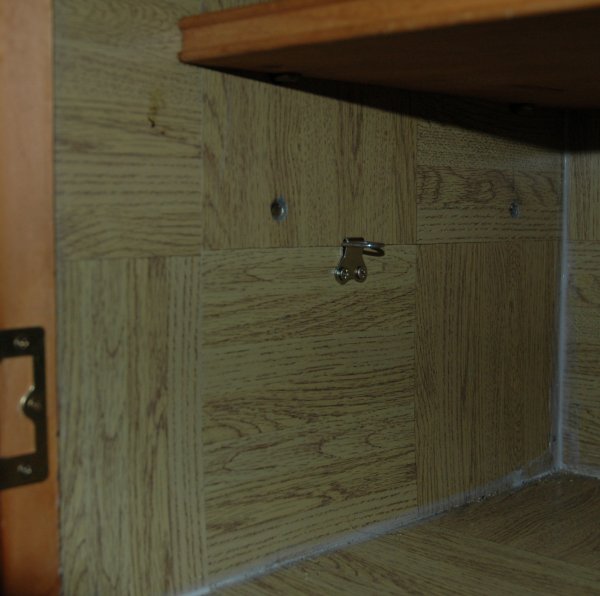 I then cut a slot in the back of the litter tray. 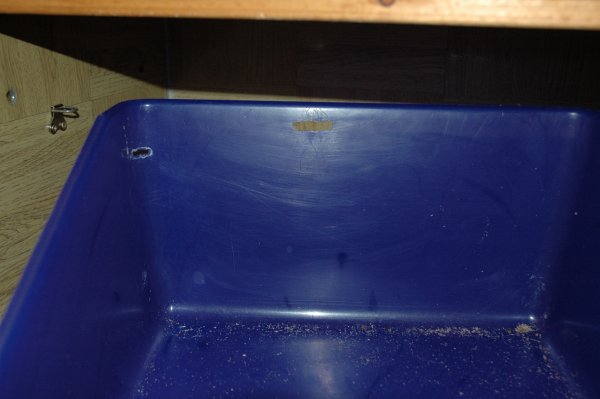 and use a Carabina through the "D" ring to hold the litter tray in place.  Our local hardware shop sells these nice stainless steel saddle clips, which were attached to hang the hammocks from 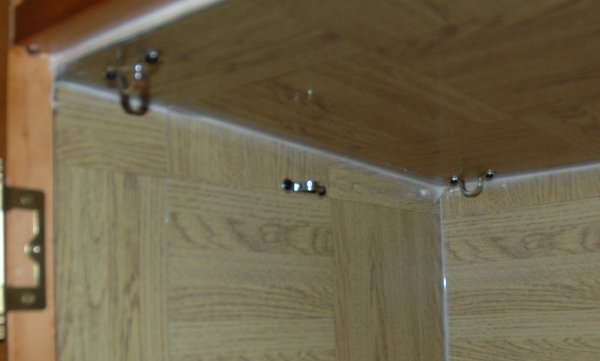 Finally ending up with a cage like this. 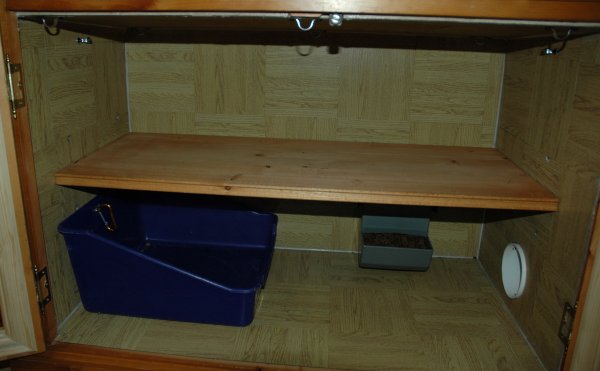 We add some bedding into the bedding area, these are fluffy cushion covers with holes in the corners, and a fleece on the floor for the disabled Rolo to climb into. 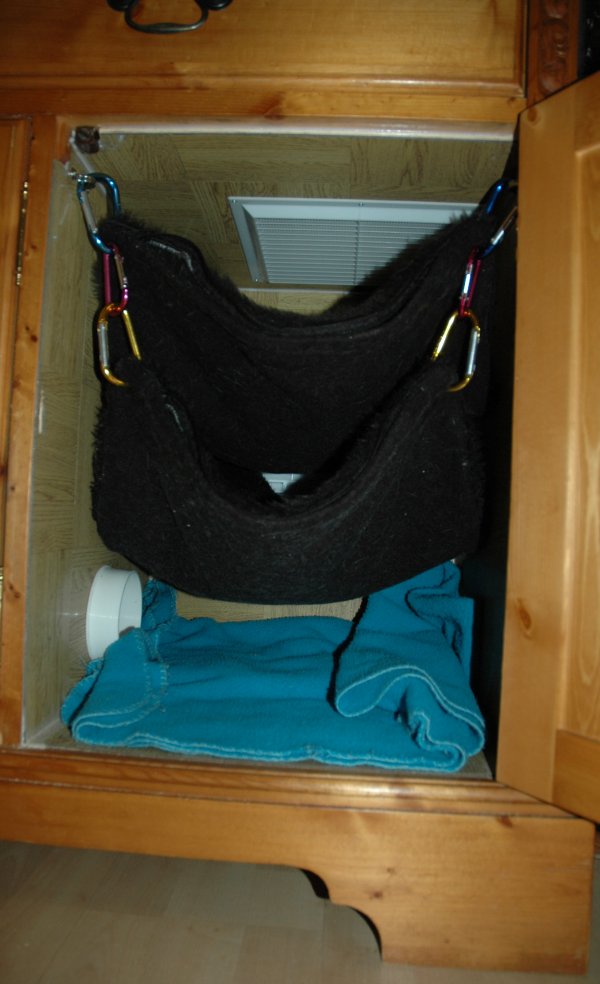 Notice the water bottle, and drip cup on the bars. we like the water to be easily visible to us, as some days the ferrets seem to go through a lot of water, and others, they drink very little. In the summer we also add water to the drip cup. 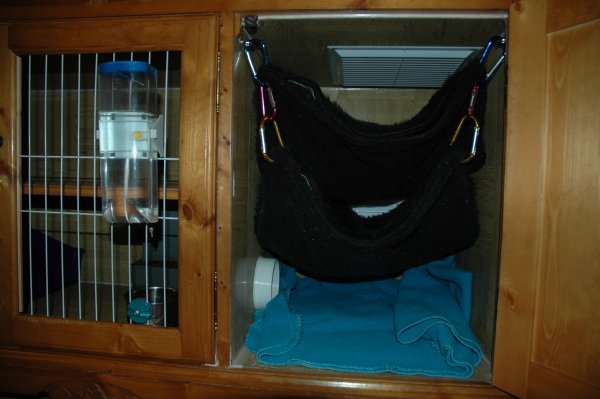 and a "Sleep in" hammock into the top of the main section, for the ones who prefer the more open beds. 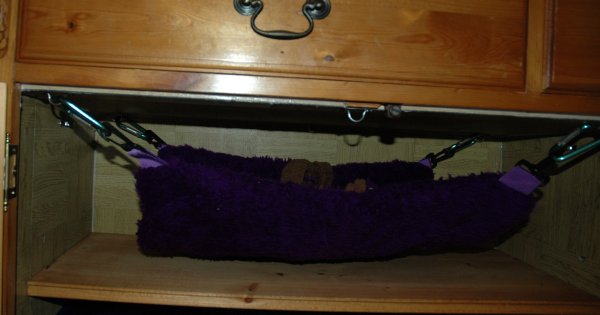 Now for the Doors Using a Router, I removed the centre of the doors, by cutting round the overlap on 3 sides of the back, leaving a a nice clean edge on the front outside of the door 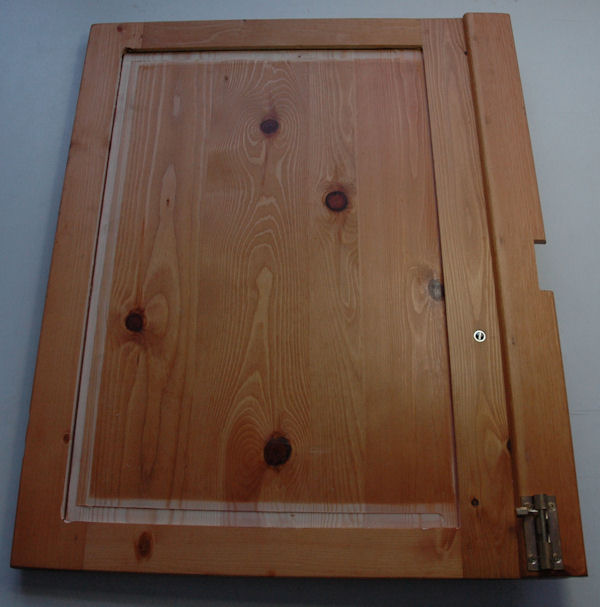 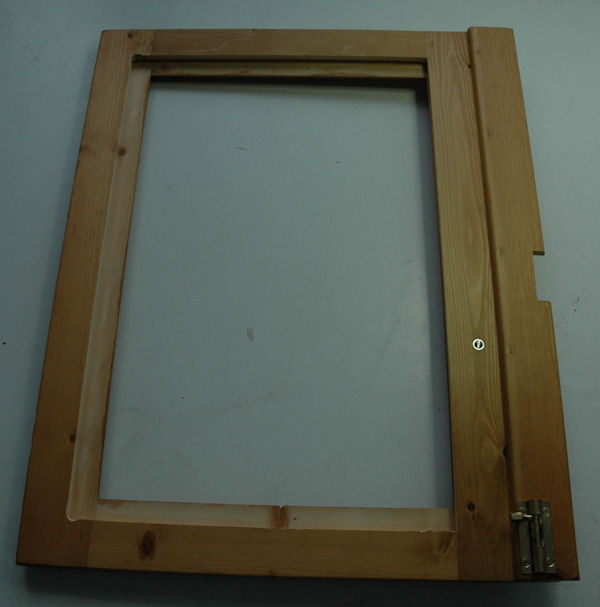 This leaves a slot on one of the sides for the bars to slot into, saving a bit of work when cutting the picture frame to fit later. 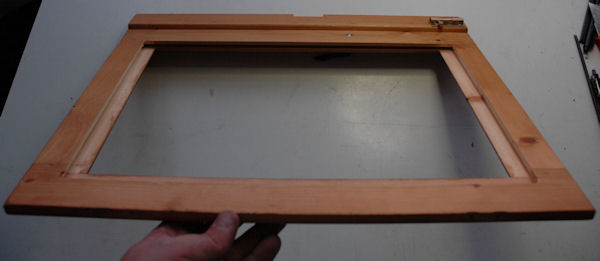 Using the origanal centre of the door as a template, cut the wire insert to size and slot into the door. 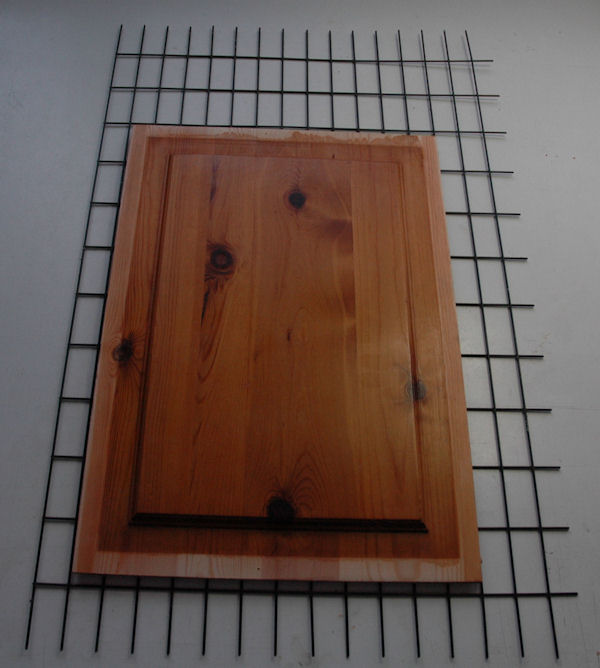 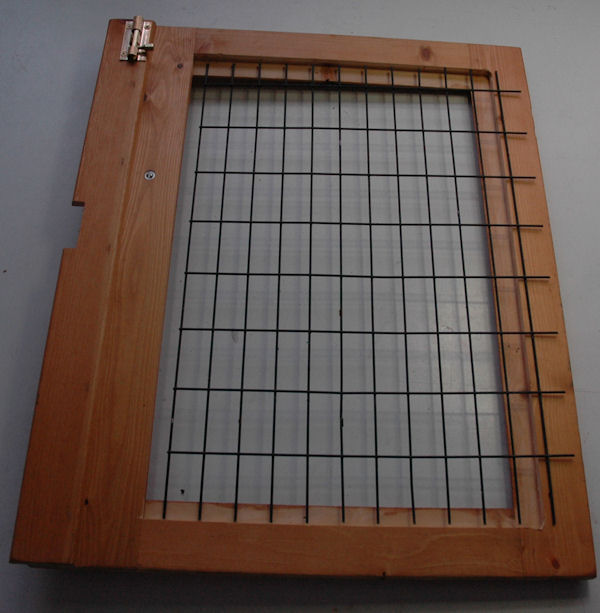 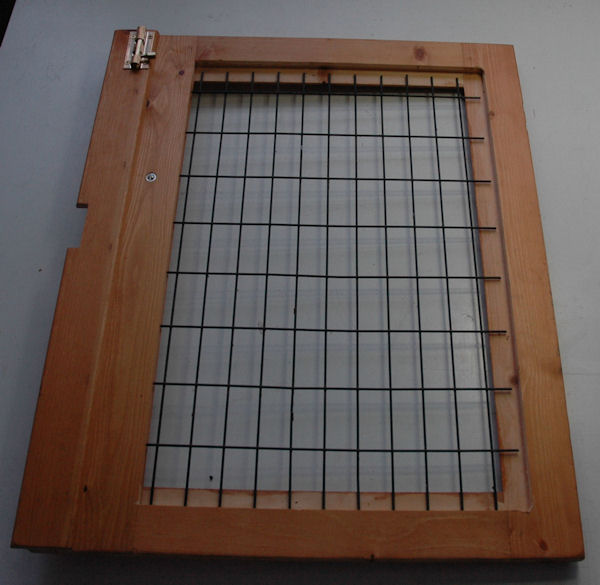 The picture frame was cut to fit, with mitred corners, and round head screws were used to hold it in place, just in case I ever need to change the wire in the furure. 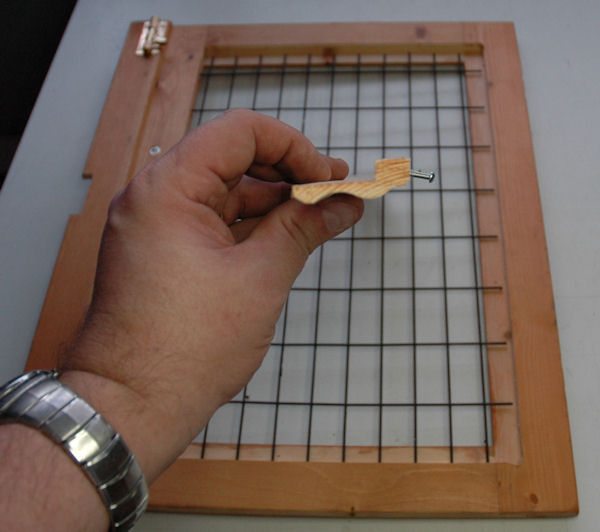 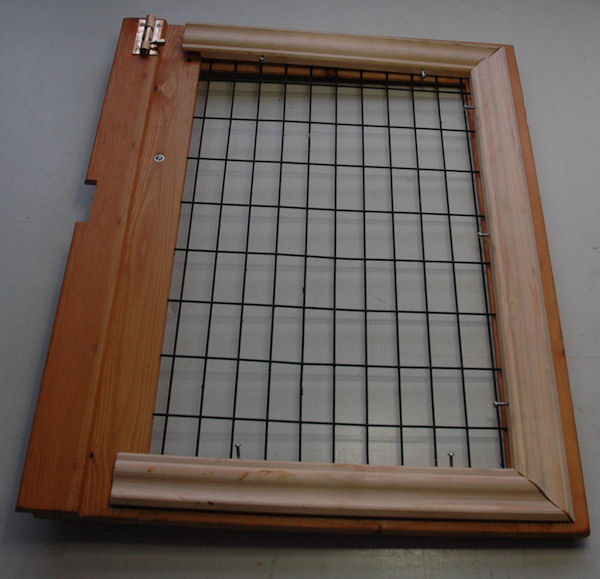 The frame was notched to allow it to extend over the slotted section adding a bit of strength. 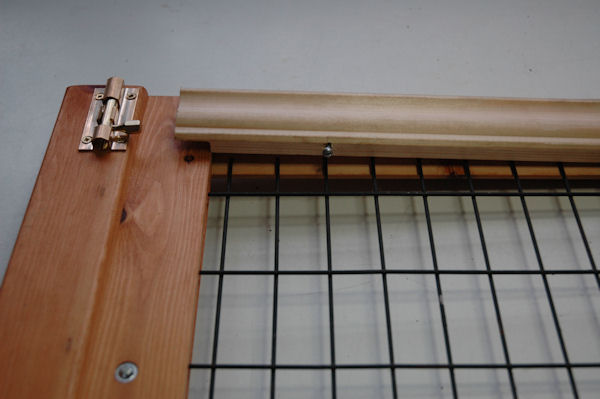 The observant among you, may notice that the bars in the pictures are not the same all the way through. This is because the original bars had too big a gap, and as can be seen in this “Video”, Buttons can squeeze through the original ones. Lucky I used those round head screws, rather than glue!!!. Here we are, with it finished, except for the changing the bars for the smaller ones. 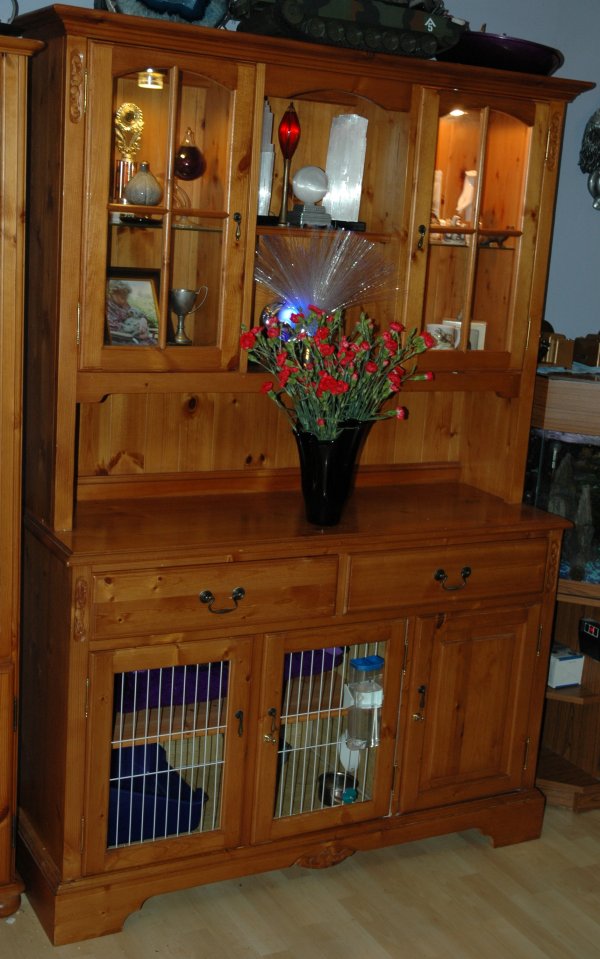 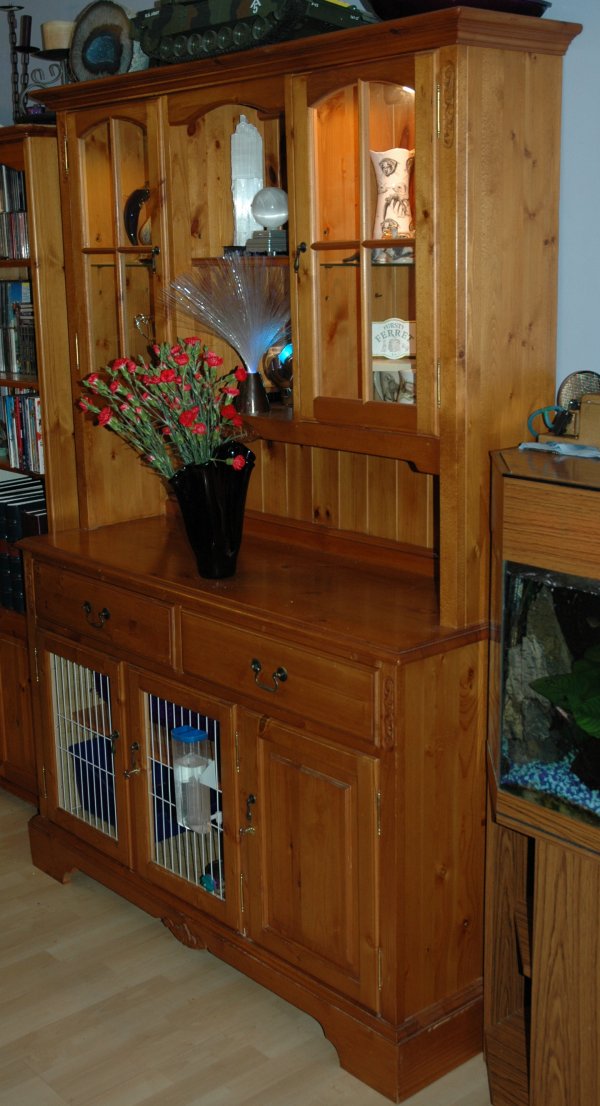 |
Website and contents © Clive and Suzanne Slade 2010 © ....Contact webmaster@lazy-ferret.co.uk